Interstellar Tours
Home
Preflight checks
Gallery
Brian's website
Further reading
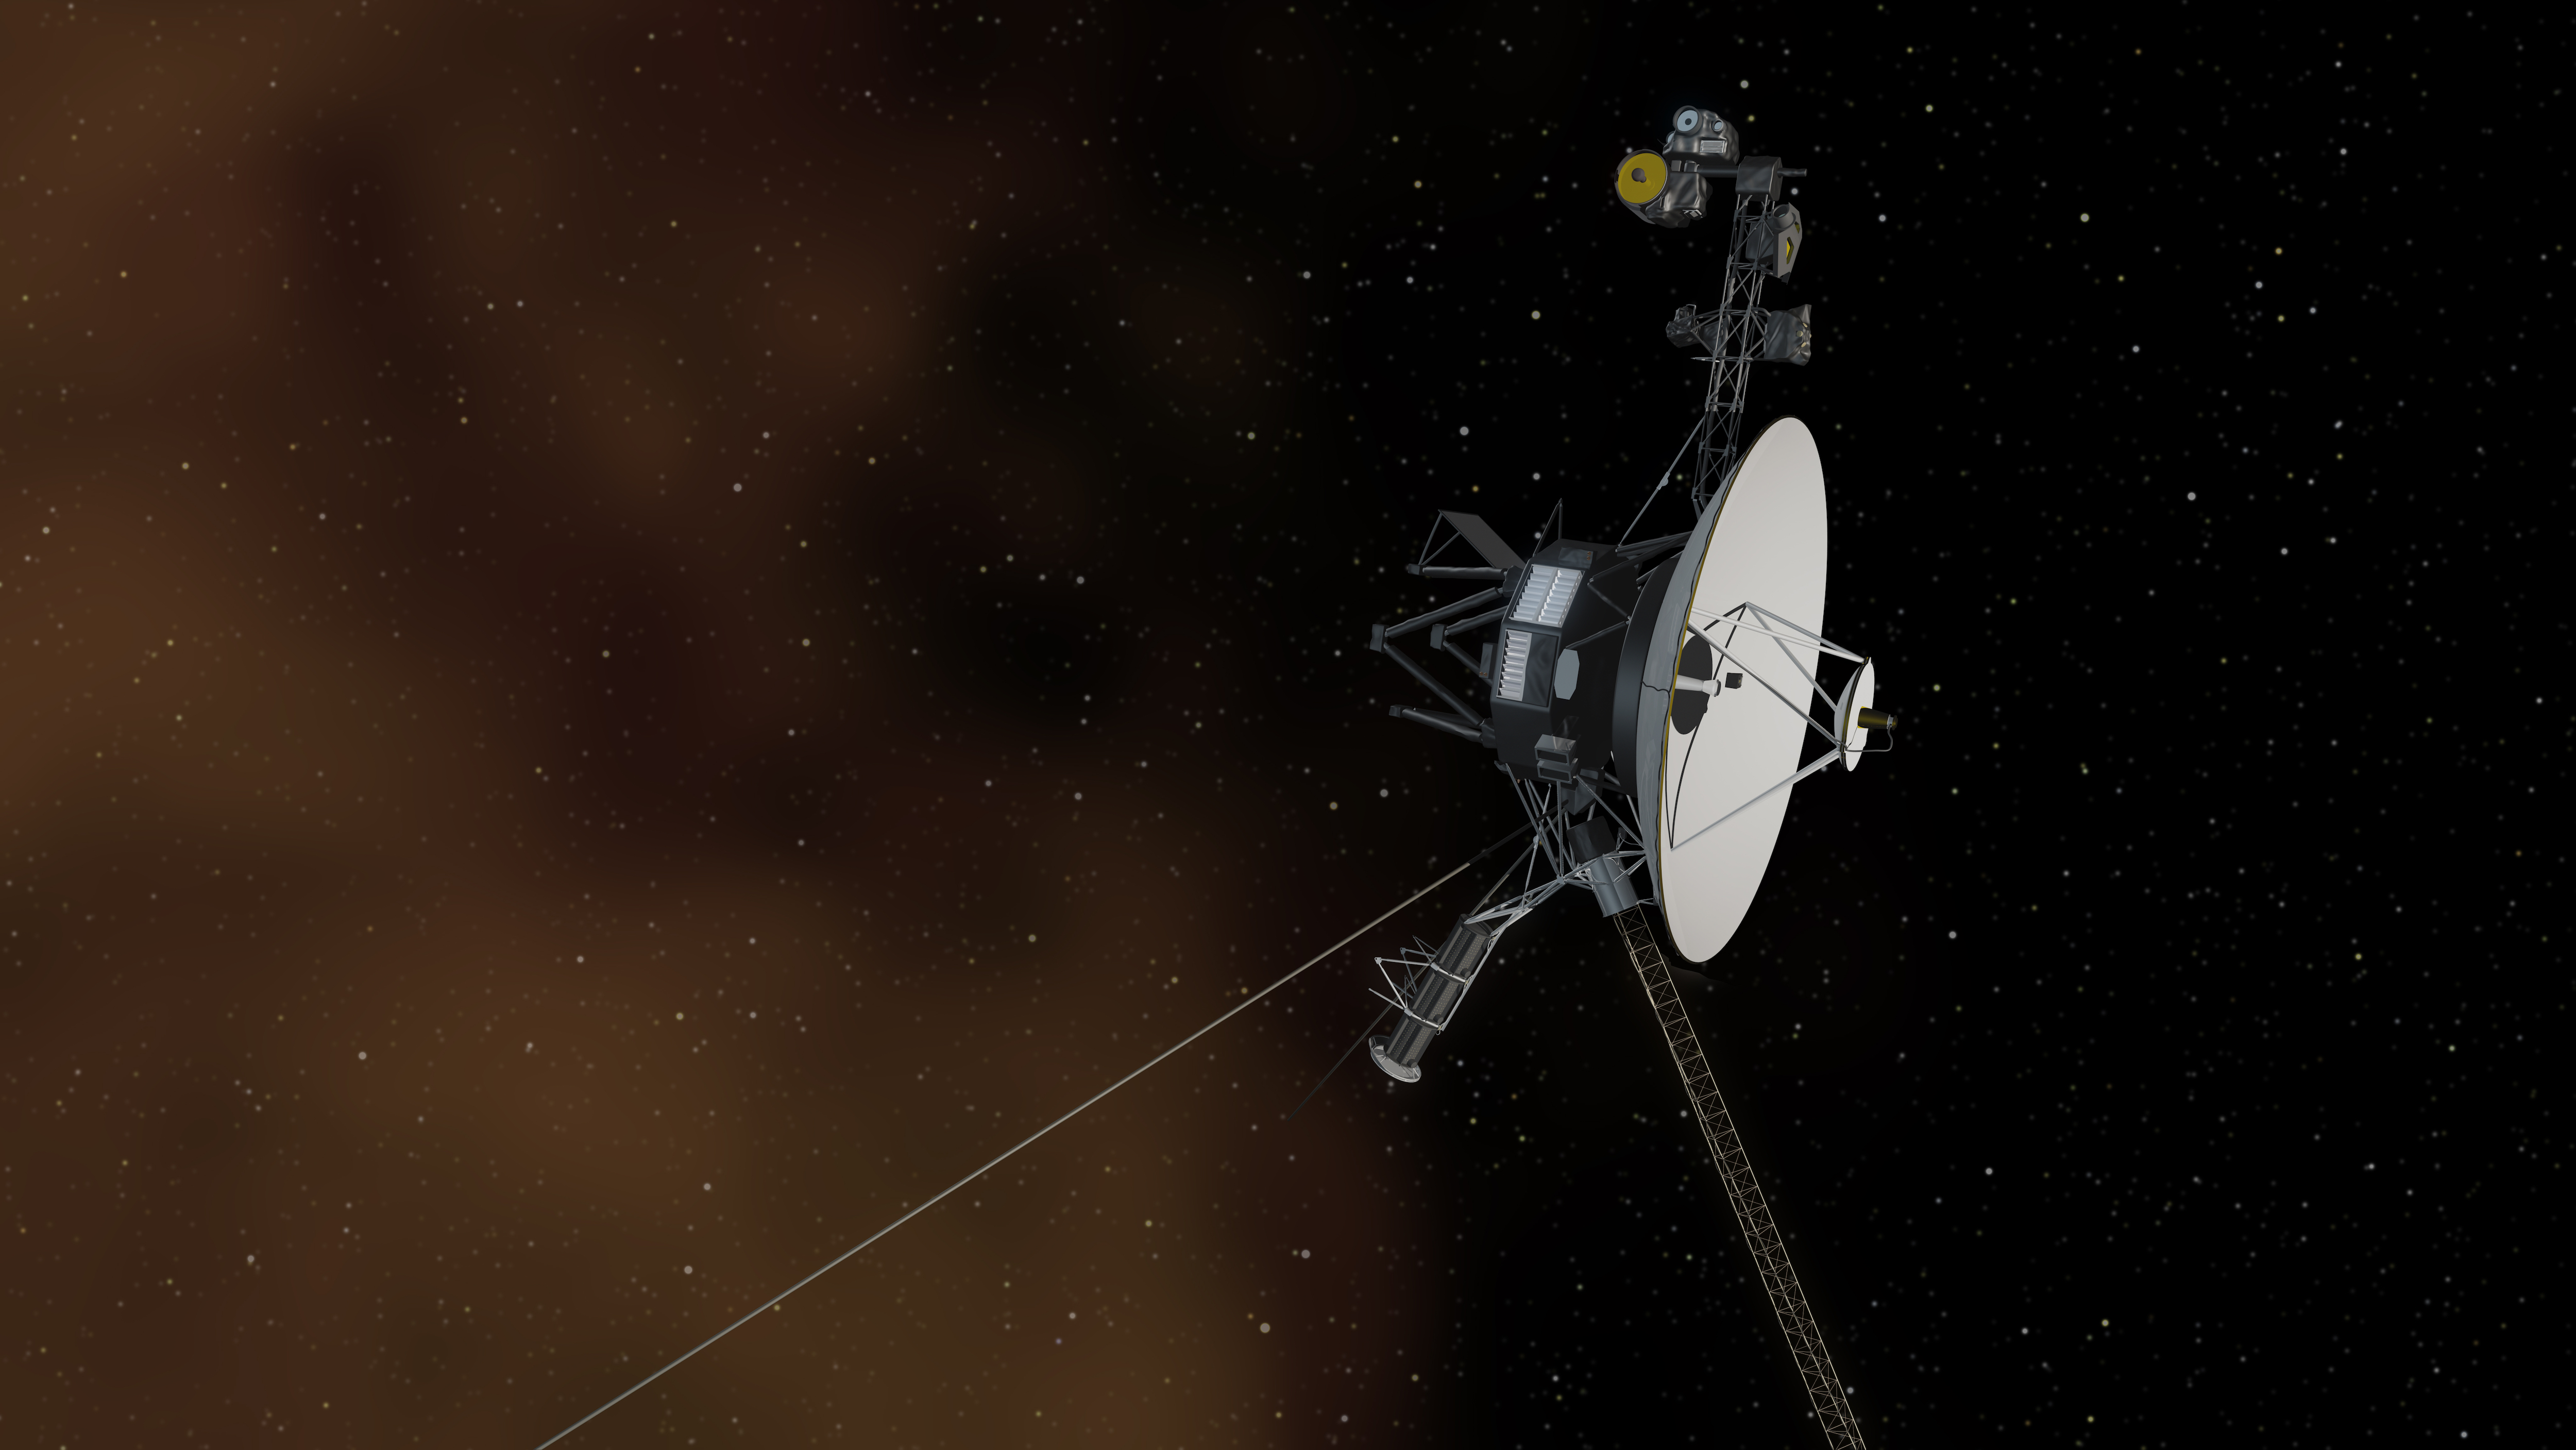
View 4 - Voyager 1
Image courtesy NASA/JPL-Caltech
< Prev
Next >